Status: Repaired successfully on 6/16/2022
In for repair was a Teenage Mutant Ninja Turtles board. The owner reported that the game would boot up and run, but the background would turn blue after a while. For me, it wouldn’t start up past the Self Check, but it did have a blue background. The Self Check indicated a failure at location F22:
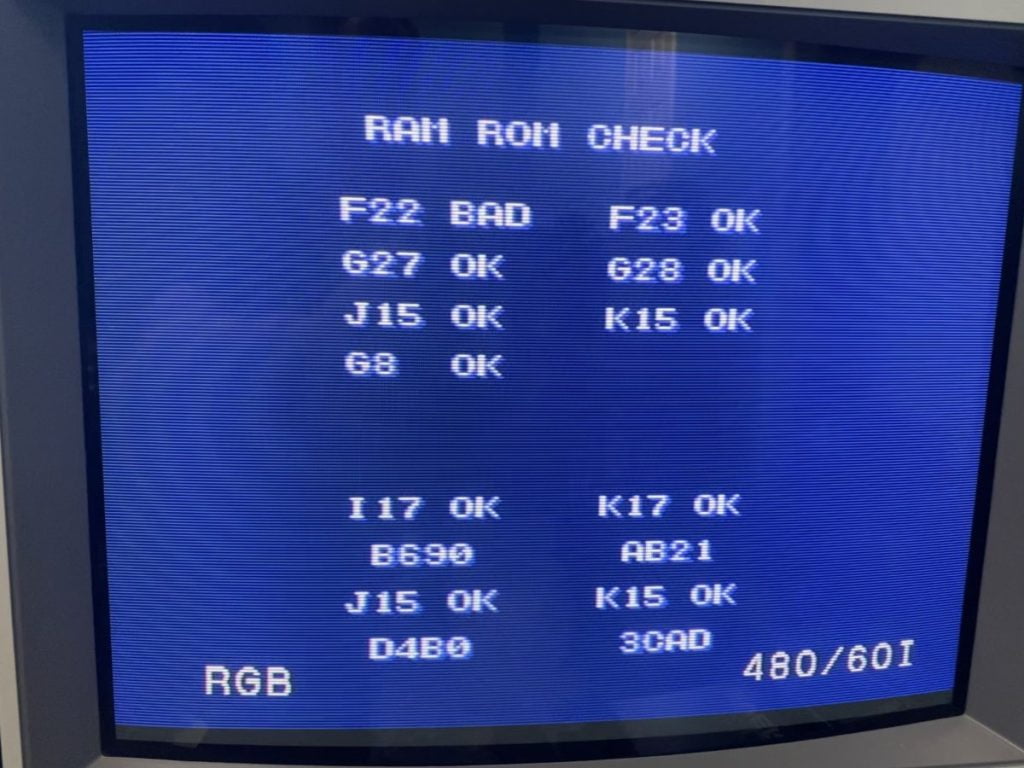
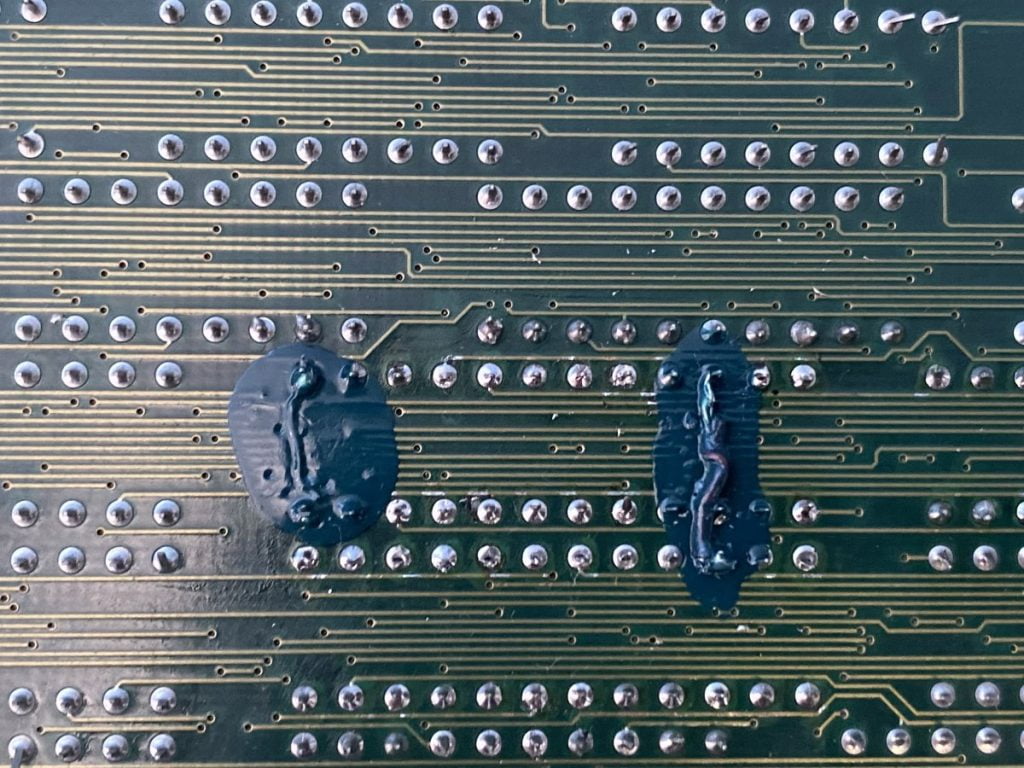
F22 is a 6116 SRAM chip located in the lower-middle of the PCB. This board had been worked on before by another tech, and the F22 and F23 chips had previously been socketed and replaced. The underside also showed that the prior tech had patched two broken traces underneath the sockets. Stick a pin in that – we’ll be coming back to this.
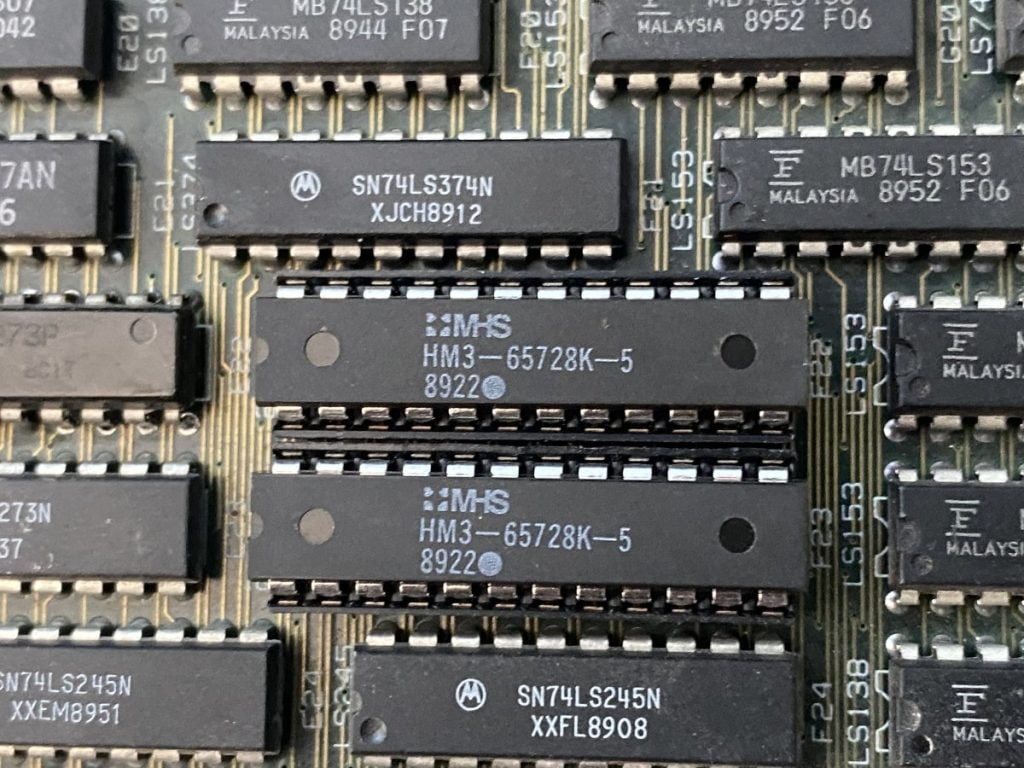
I pulled the RAM chips from the sockets and tested them in my RAM tester – they both passed. Time to go to the schematics – they are available for TMNT as part of the manual, which you can download here: https://www.arcade-museum.com/manuals-videogames/T/Teenage_Mutant_Ninja_Turtles__1989__Konami.pdf
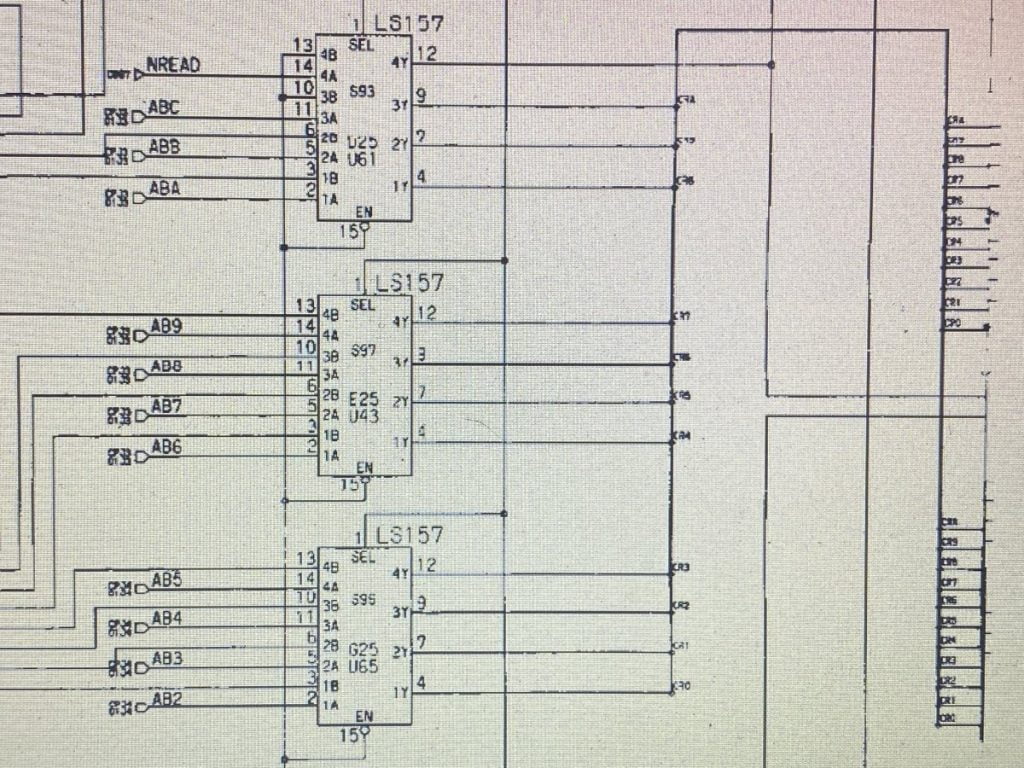
The schematics showed that F22 and F23 are both part of the palette RAM (which explains the blue background). Addressing for both RAM chips are driven by three 74LS157 TTL chips, located at positions D25, E25, and G25.
Data for the F22 RAM is fed by an 74LS273 chip located at E22.
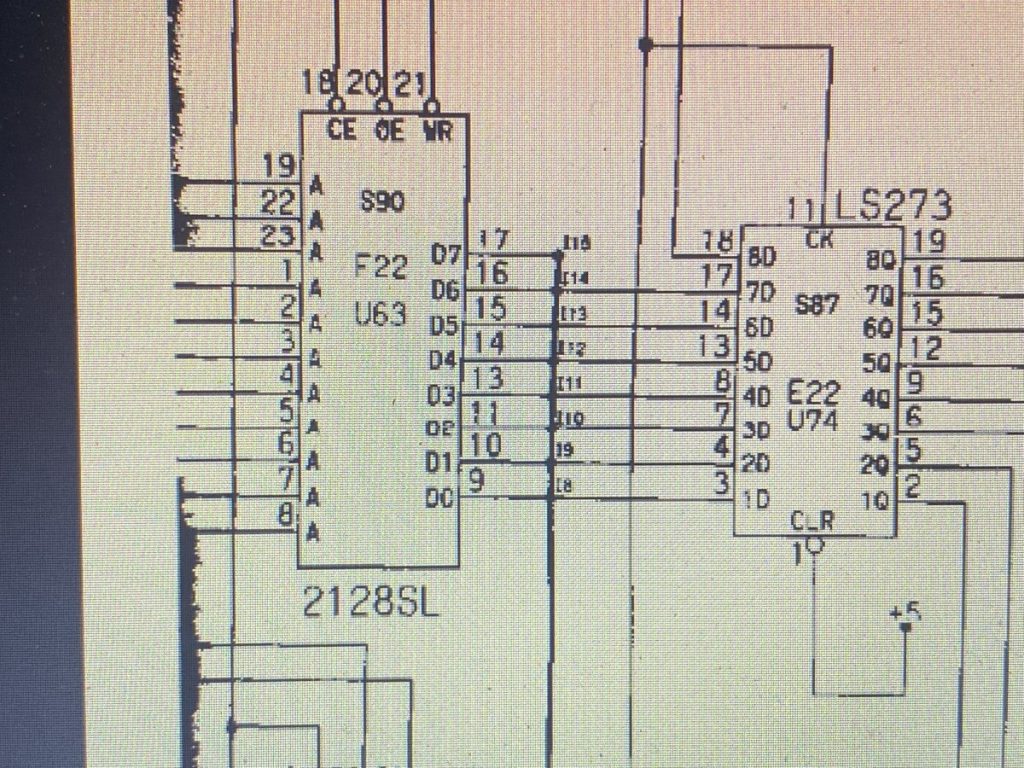
This was a chance to try out a new diagnostic tool I’d recently acquired. SLICE by Aaron Littlement connects with a Diligent Digital Discovery logic analyzer to sample all of the signals for a particular TTL chip on a running board and tell you if the TTL chip is malfunctioning. It has libraries for around 100 of the most used TTL logic and RAM chips used in arcade boards.
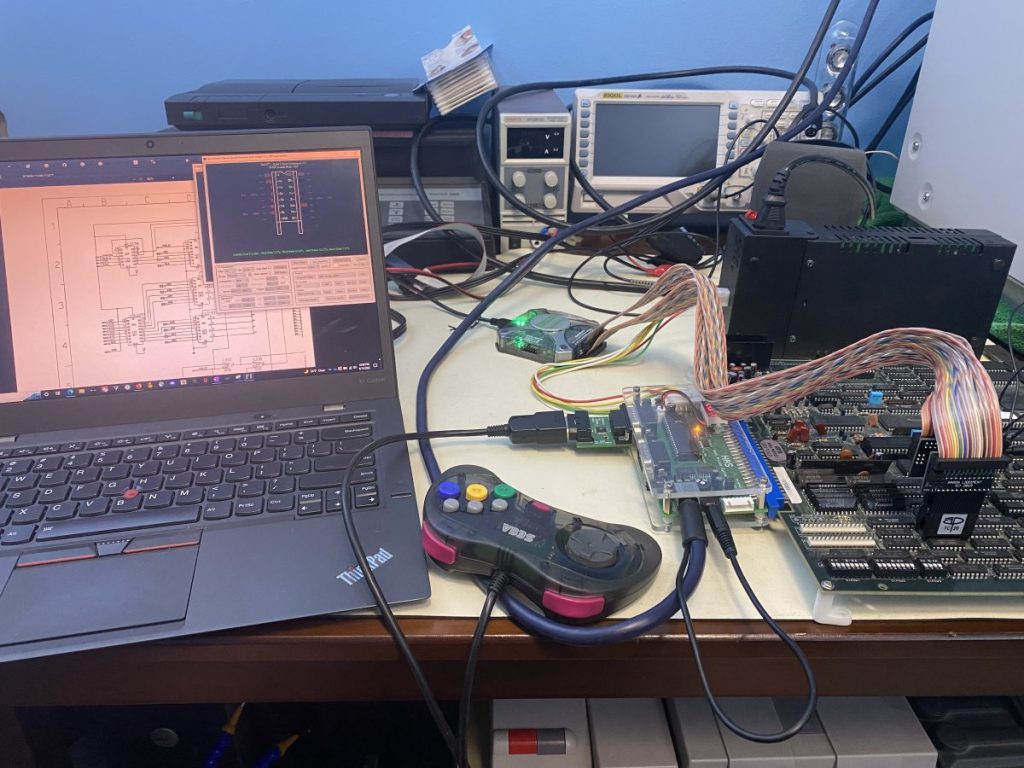
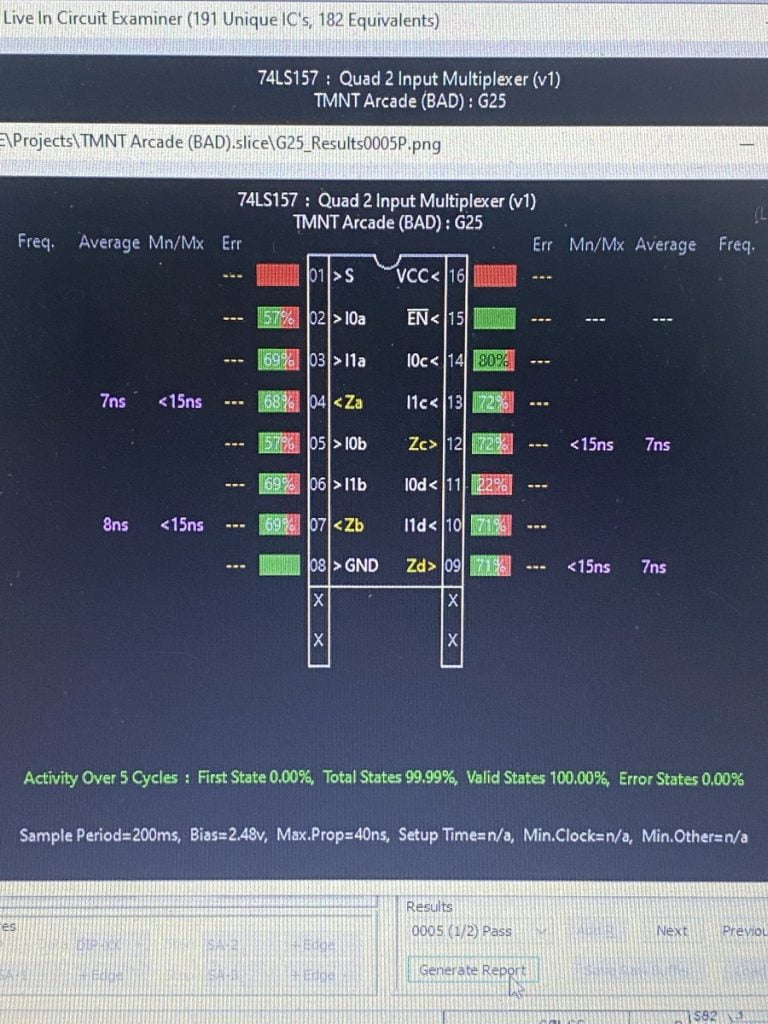
I used SLICE to trace the four TTL chips involved with F22 – all of them passed for showing appropriate logic activity.
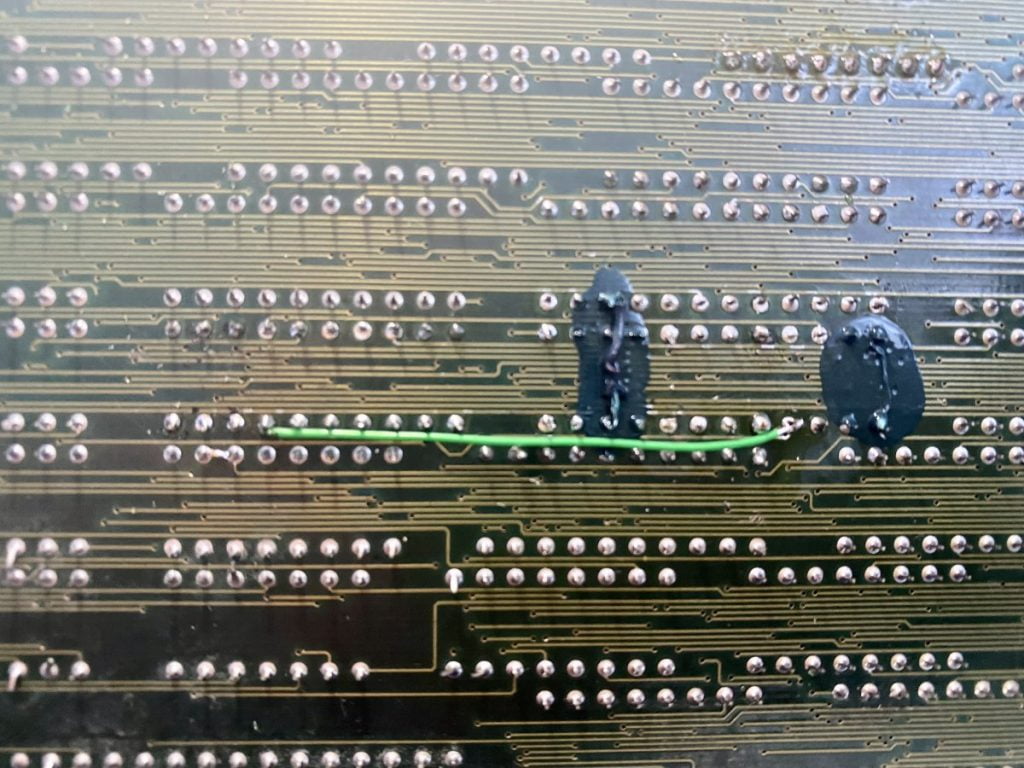
Alright, next is to check for broken traces. As mentioned earlier, two broken traces under the F22 and F23 RAM had been repaired before. I broke out my multimeter, set it to continuity check, and started checking each line on F22 against its destination as indicated on the schematics. I did find a broken trace on the D6 line of the SRAM where it connects to the 74LS253 TTL chip.
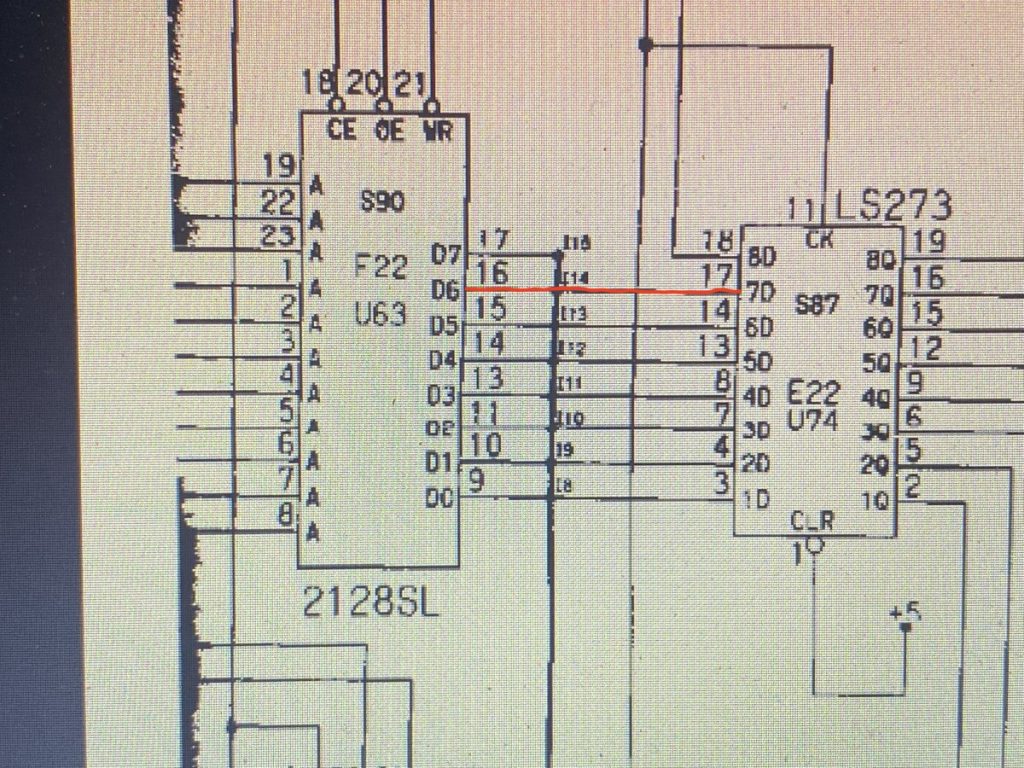
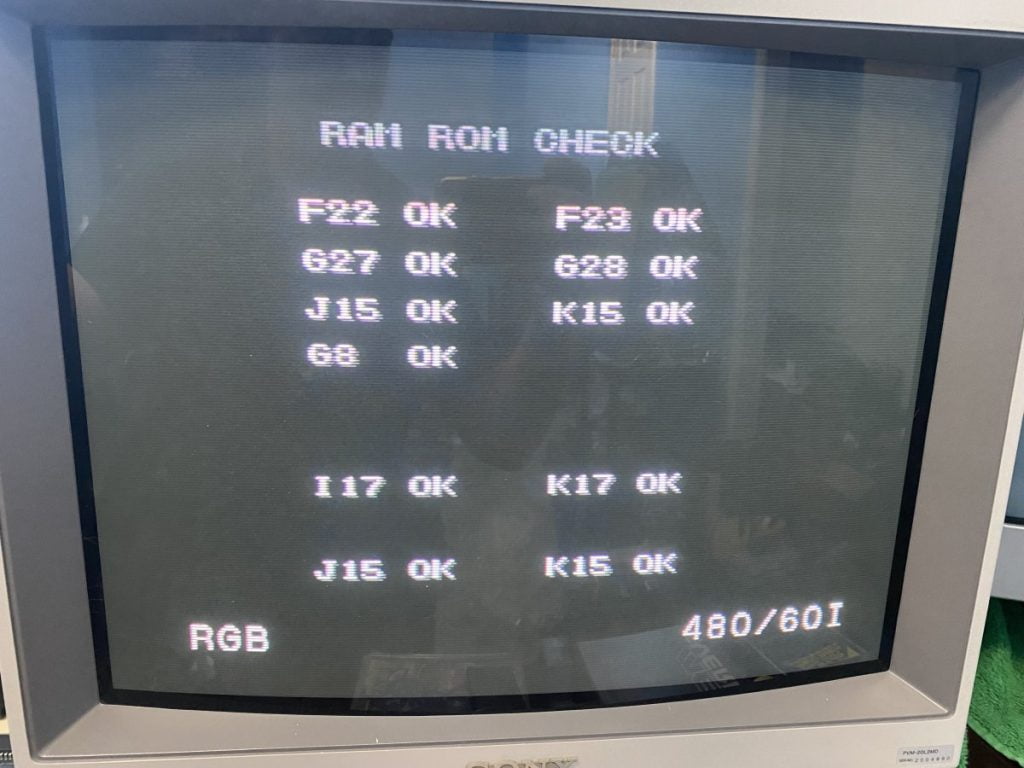
I soldered in a patch wire and tried the board again – that was it! The board booted up with a clean Self Check, and I was able to play through the entire game without a problem.
In hindsight, given the previous repairs in that area I should have probably checked for broken traces before testing the TTL chips, but I was eager to try out my new diagnostic tools.