Status: Repaired successfully between February 13, 2021 and March 9, 2021.
I purchased a Capcom CP3 arcade board untested at a discount from Yahoo Auctions Japan. Protip: Never buy untested electronics.
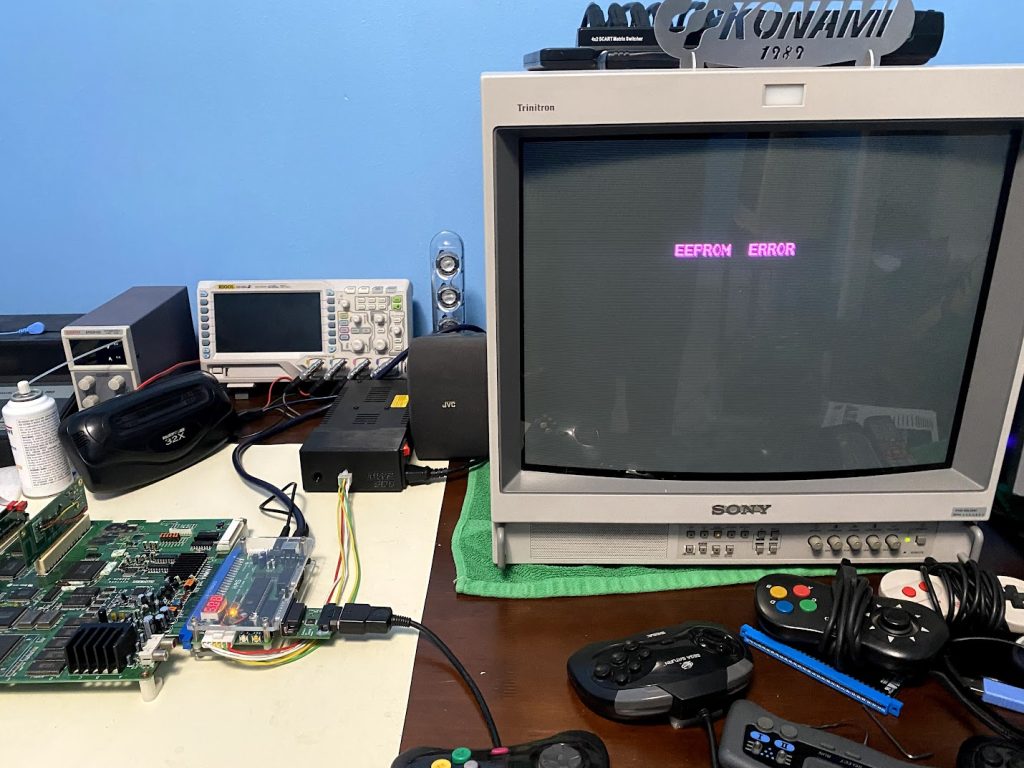
When the board arrived, I attempted to boot it up, but received an “EPROM ERROR” message.
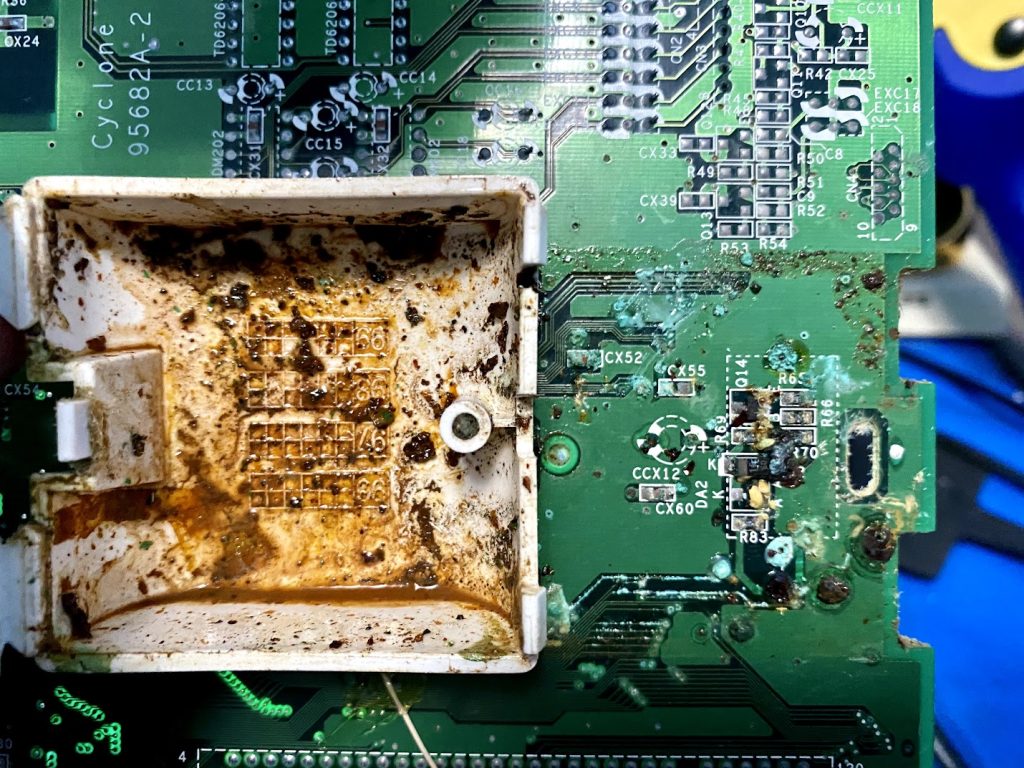
Researching the board, it turns out that CPS3 uses a small EPROM chip to save game-specific settings such as difficulty, number of lives, high scores, etc. There are several revisions of CPS3 boards, and on my board there was a white plastic capsule surrounding the EPROM chip. I removed the plastic capsule and a disaster spilled out in front of me.
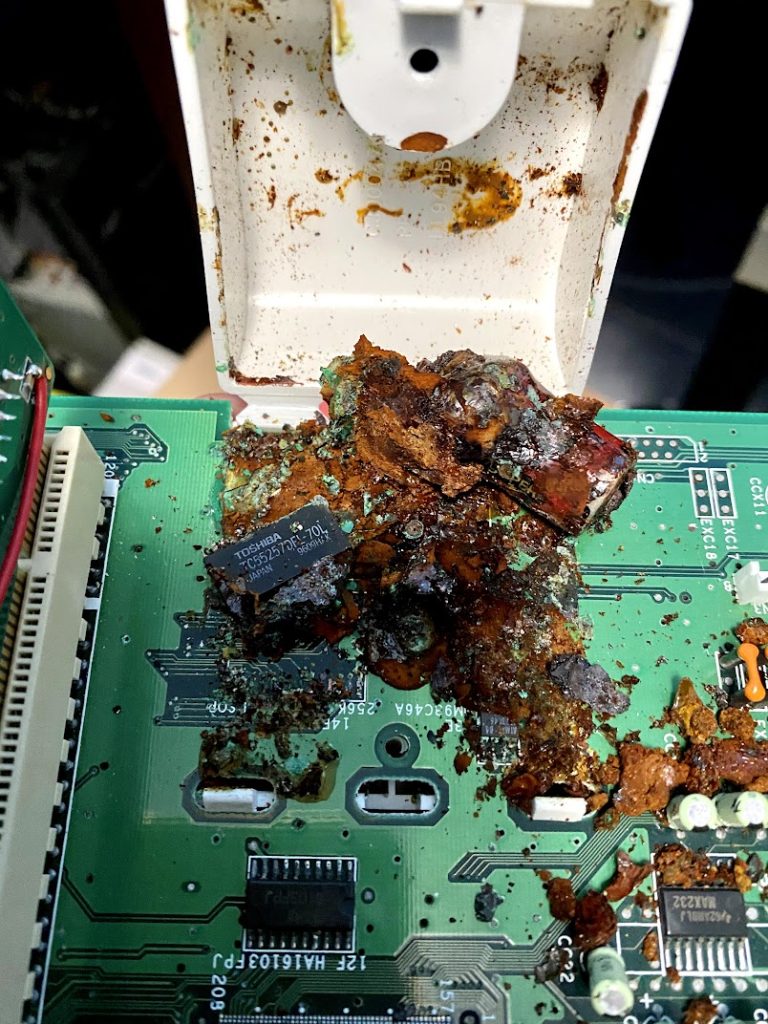
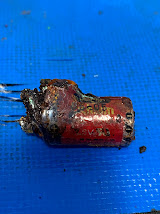
Talk about an EEPROM error! The EEPROM had been completely blasted off the board along with several other components. I started picking through the rubble and found the culprit – a Varta battery had exploded and leaked corrosive electrolytic fluid all over everything.
I swept all the pieces off the board, then cleaned up the PCB with a toothbrush and isopropyl alcohol. It did not look good – most of the traces had been dissolved off the board completely.
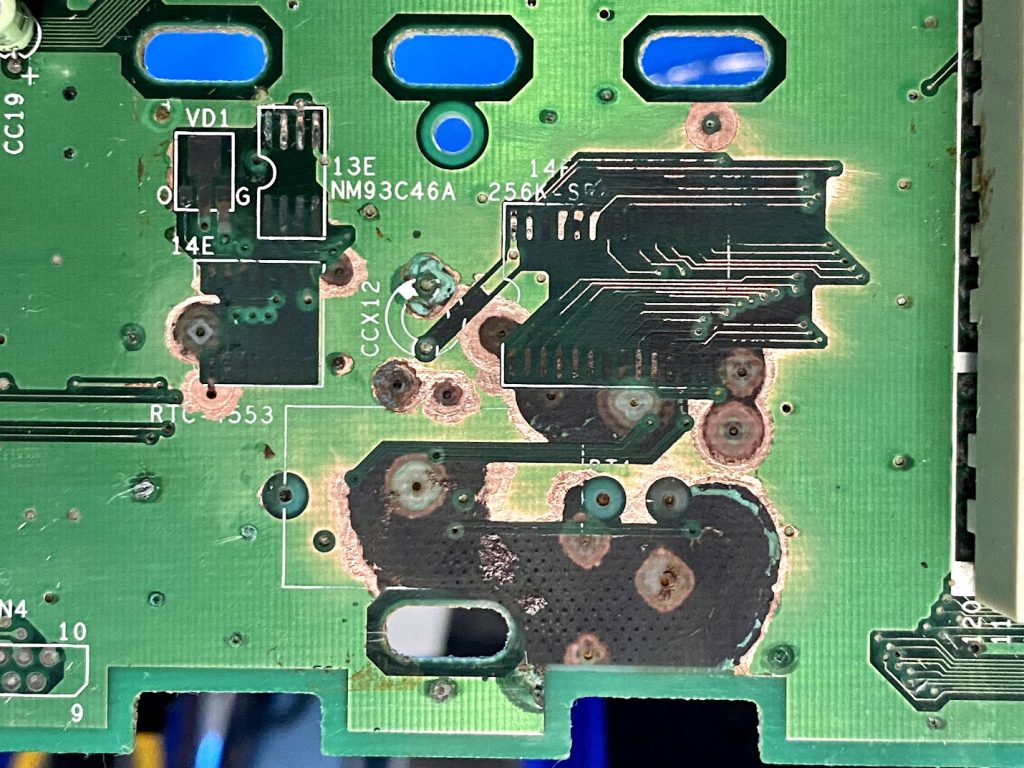
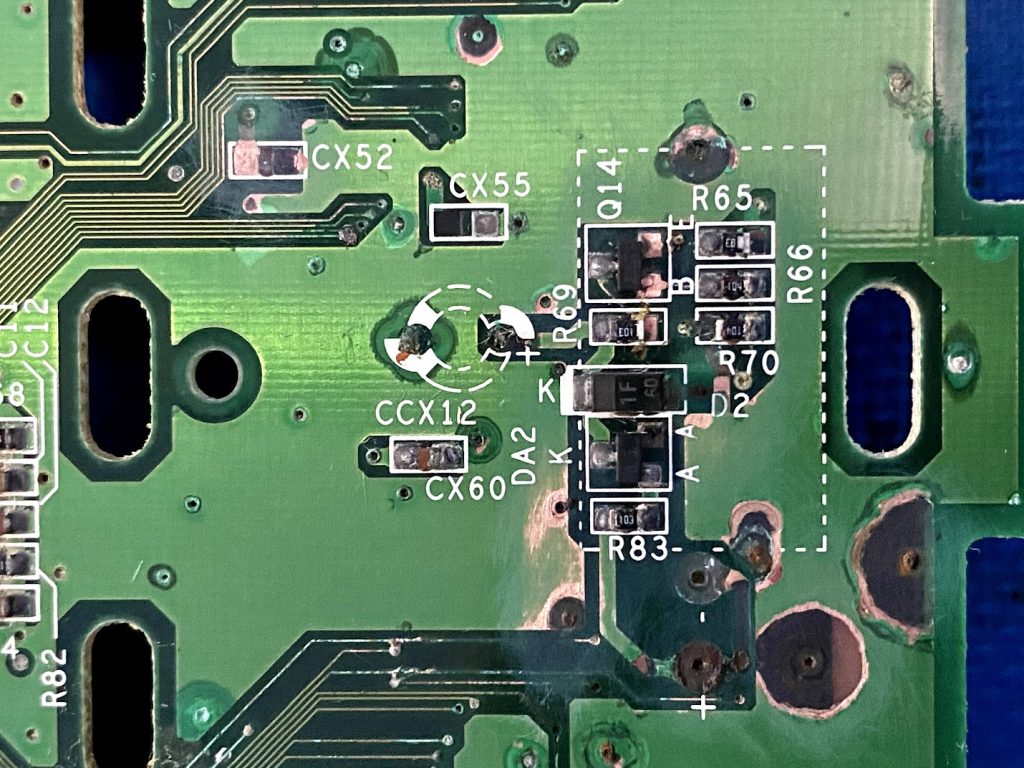
The underside of the board didn’t look healthy either – some of the leaked electrolytic fluid had eaten through to the underside and damaged some traces there as well.
I probably would have written off the board as a parts donor at this point except for two things:
1) The board was booting up – it just wanted an EEPROM to talk to.
2) Later revisions of the CPS3 hardware removed all of the components in the area encapsulated by the plastic container except for the EEPROM:
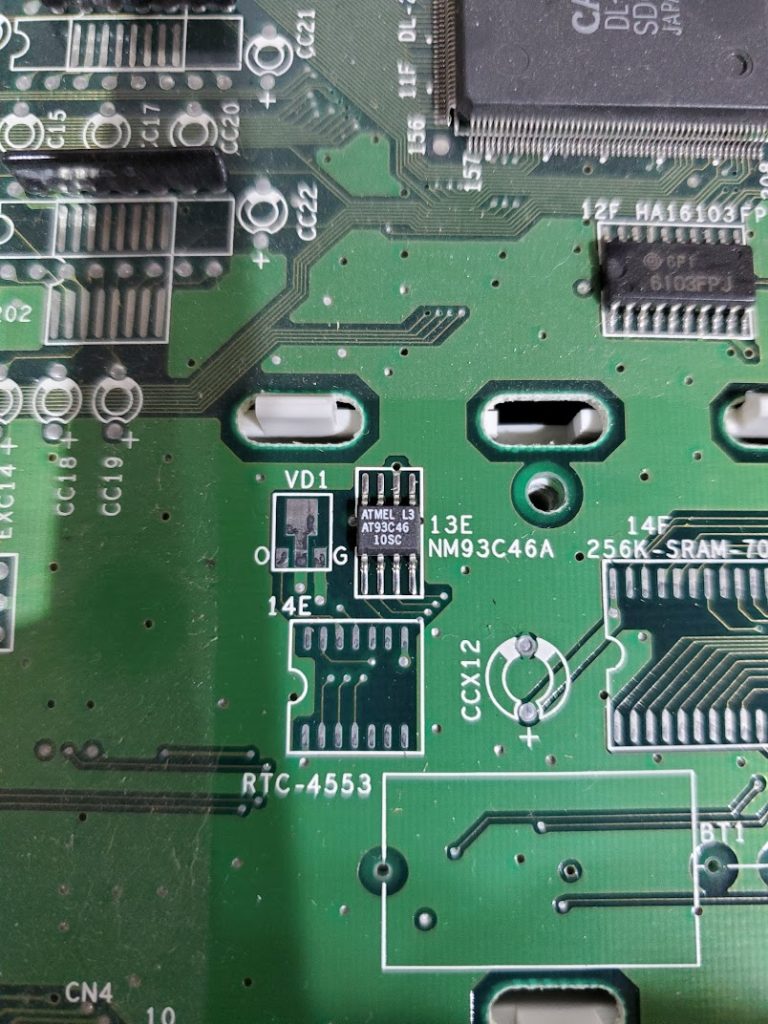
The theory behind the extra components in the encapsulated area on the early CPS3 boards is that Capcom would do rapid field testing of game revisions by uploading patched code into a 256k battery-backed SRAM chip that would be applied to the game at boot up. Later CPS3 boards didn’t need the ability to “hot patch” in the field, so the extra components were removed.
I decided it was worth the effort to install a replacement EEPROM and patch the traces running to it. It was a low-risk effort with a potentially high reward – CPS3 boards are rare and expensive.
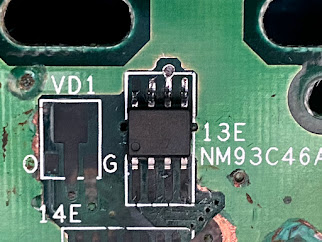
I purchased a replacement EEPROM and soldered it to the remaining pads.
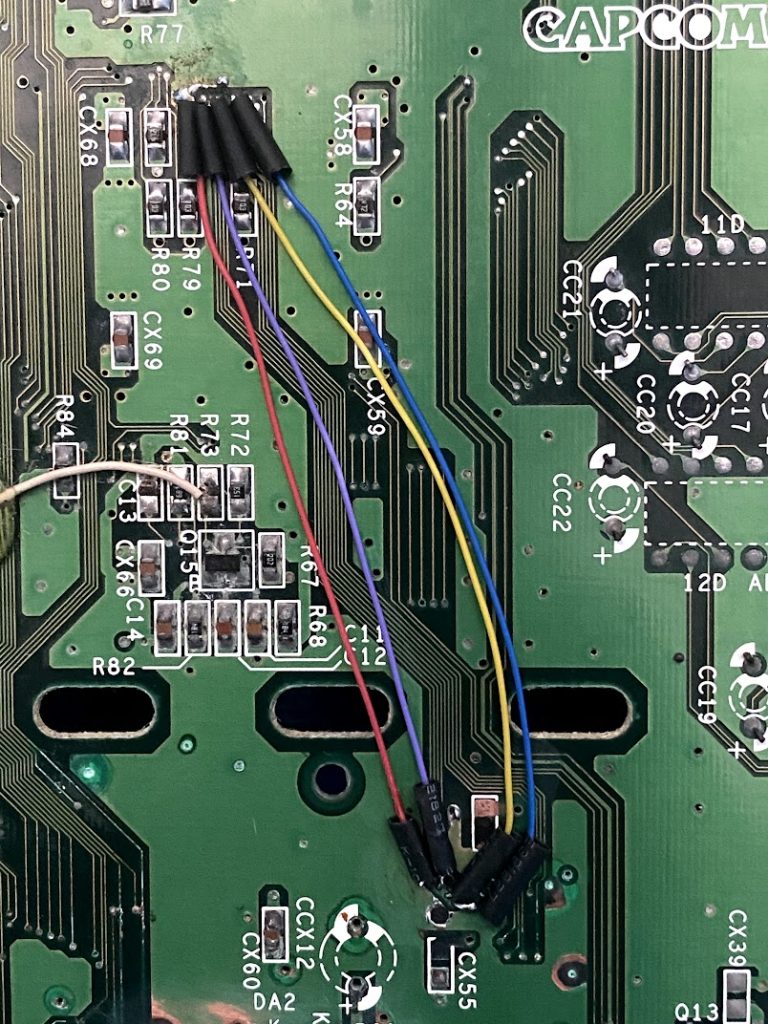
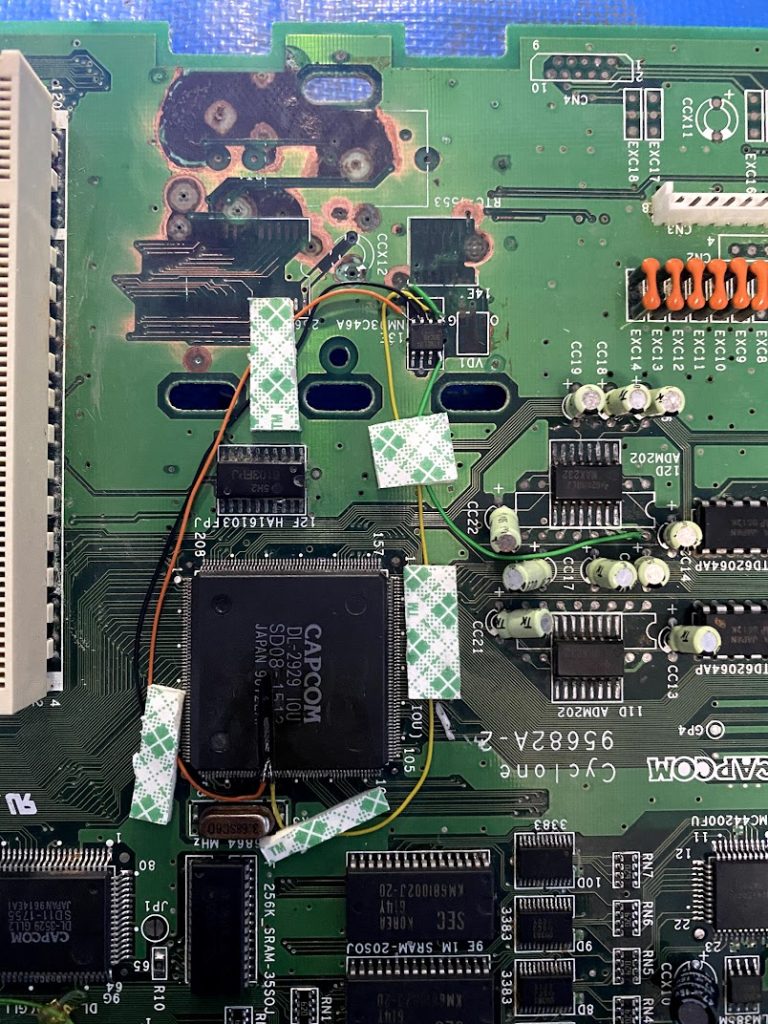
Then I ran patch wires for the missing traces.

Continuity testing with the multimeter showed that EEPROM traces were broken on the underside of the PCB as well, so I ran additional patch wires on the underside.
Ultimately, the lines feed into a large Capcom custom chip, and unfortunately two of the traces were broken right at the legs on the die. I made a mistake when attempting to solder to the legs and snapped them off – I had to use a Dremel and cut into the die itself to solder the patch wires.
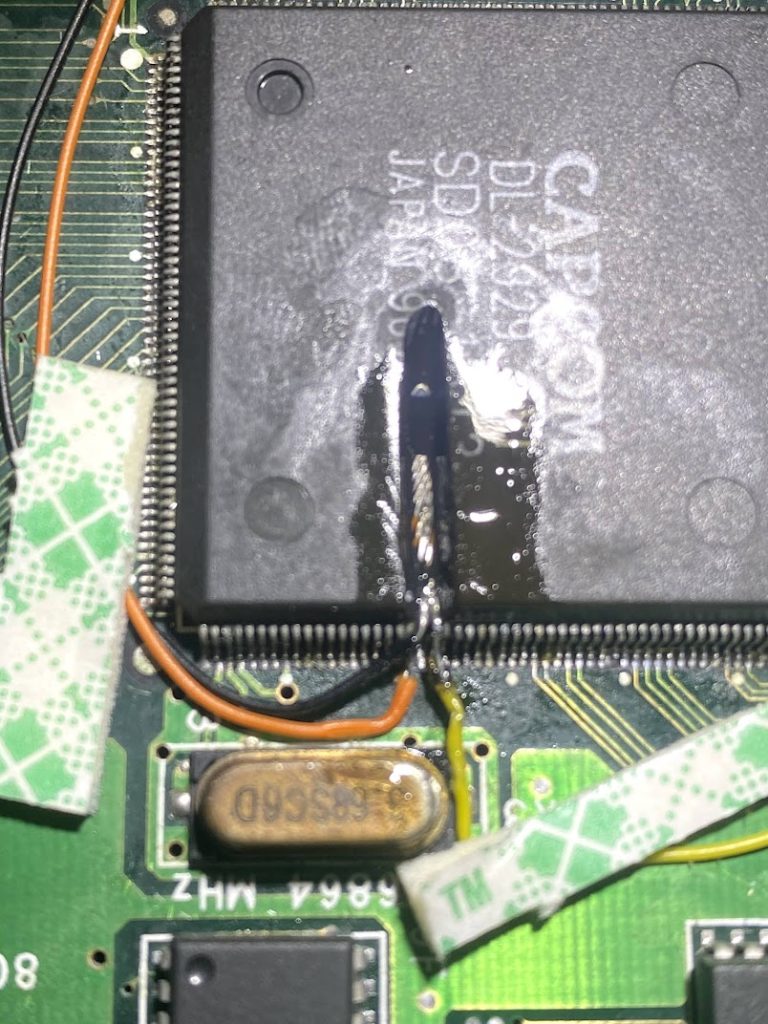
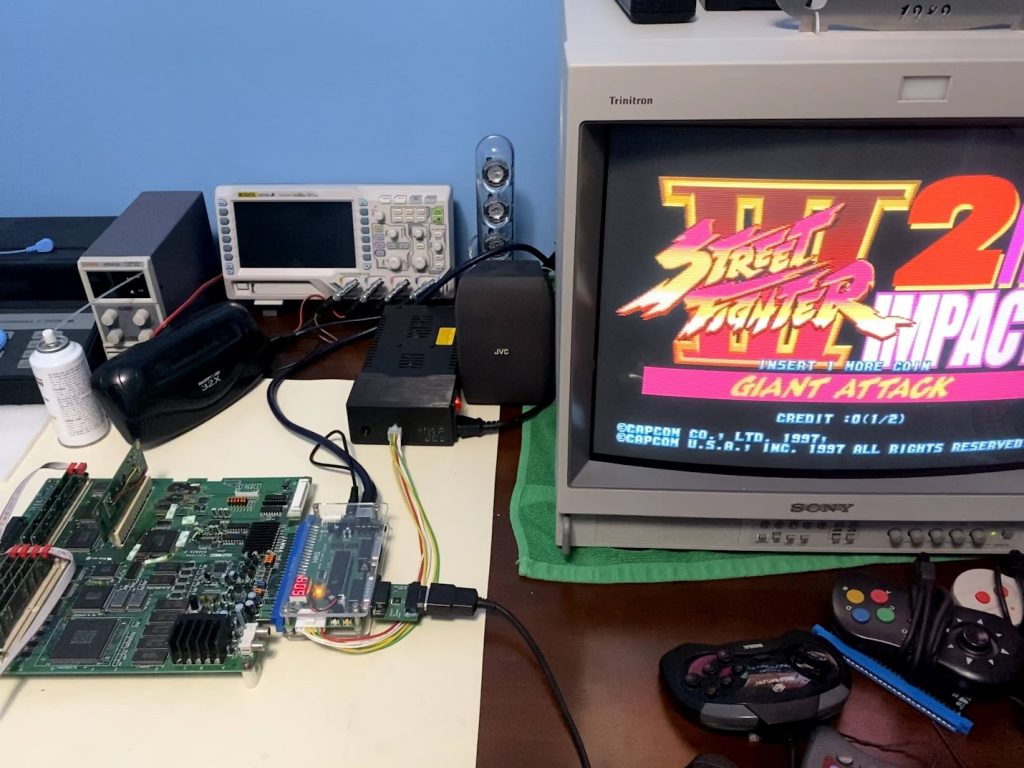
Finally all of the EEPROM lines read for correct continuity and it was time to try it out.
And amazingly … the board worked! Perfectly!
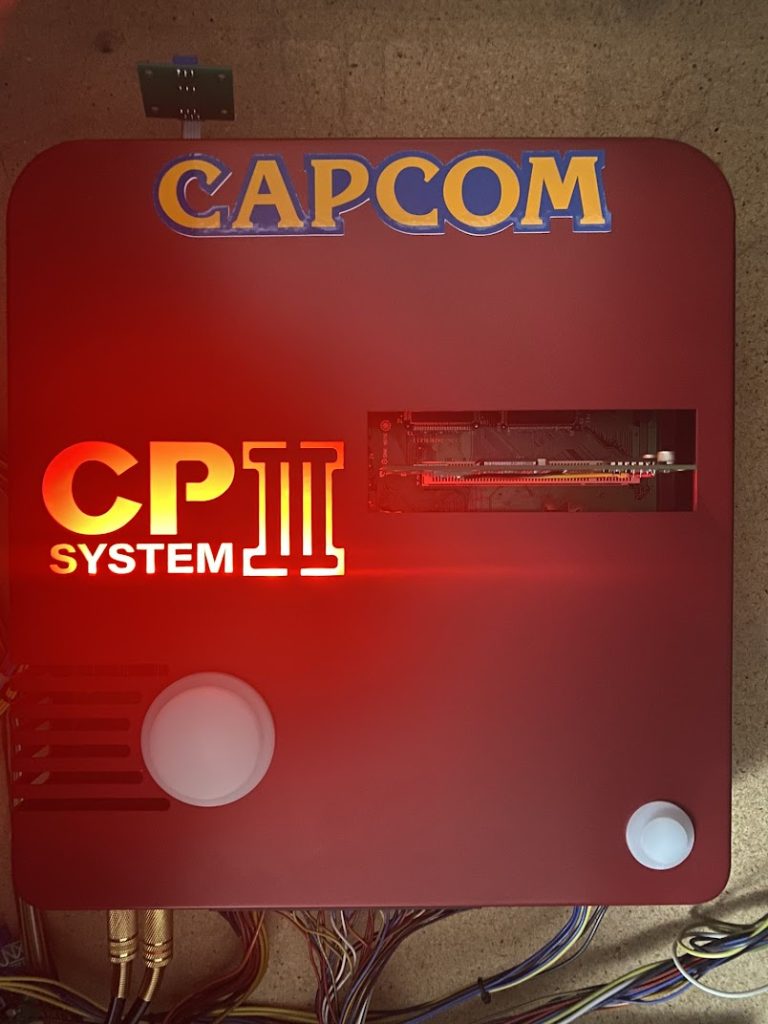
In the end, it wasn’t my cleanest repair and I wish I hadn’t been forced to cut into the controller die but I’m glad it worked out in the end. I did add a heatsink to the top of the custom die to protect the area where I’d cut into it, and I encased the entire board in a case from TRFightstick to help protect the fragile repairs.
As of this writing, the board still works perfectly two years later. It’s a board I’ll always be keeping for personal use though because of the fragility of the repair.